Let's Talk Technique Tuesday.
This card is called the W Fold Card. I will show you the card I'm working on and tomorrow show you the finished product. I'm not quite satisfied with the inside, but let's get started.
Here is the card front.

Here is the inside of the card and why it's called a W fold or an M Fold depending on which way you're looking at it.

And here are all the pieces I'm trying to fit on all those little sections. This is not easy, believe me.

There are reindeer and made in the North Pole sign and lots of other pieces and they're not quite coming together yet, but I promise Wiley will have a completed picture tomorrow on Wednesday with Wiley
Here is how I created this card. First I have to thank Lisa Curcio for her great samples and tutorial
Here are the instructions for the one I'm creating.
1. Whisper White Thick Card stock 4 1/4" x 11" scored at 5 1/2* - this is your card base.
2. Whisper White Thick Card Stock 1 3/4" x 11" scored at 2 3/4", 5 1/2", 8 1/4" this is the W fold on the inside of the card
3. Card Front Design Basic Black Card Stock 3 7/8" x 5 1/8" adhere to card front with Stampin' Seal. Then attach a piece of Wonder of the Season Designer Series Paper 3 3/4" x 5" and attach it to the Basic Black with Stampin' Seal.
4. Attach a piece of Basic Black Card Stock 1 3/8" x 5" then cut a piece of Whisper White Card Stock 4 7/8 x 1 1/4" and stamp the sentiment on the right side of this piece. Attach to the Basic Black Card Stock with Stampin' Seal.
5. Die cut the Reindeer (could ge a Deer) with Gold Foil Paper and attach to the left side next to the sentiment with Stampin' Dimensionals.
6. On the inside. Cut 2 pieces of Basic Black Card Stock 3 7/8" x 5 1/8" and attach to each side of the inside. Then using Whatever Designer Series Paper you want from the Wonder of the Season Designer Series Paper, cut 2 3 3/4" x 5" and adhere to the Basic Black using Stampin' Seal.
7. Fold the 1 3/4" x 11" in half and then fold the other folds, The mountain fold will be in the center and the valley fold with be attached to each side off the card using Stampin' Seal.
8. And as you know....I haven't decorated each section but Wiley will show it to you tomorrow. Plus he will have all the material because w'ell know what all you'll need, Hope you like this card. I think we'll use this W Fold for one of our cards in our October Class.
October Special Class
Will be Held on October 24th & 25th. (Times To Be Announced)
I am working on the cost of the class and will have that information via Wiley the Wonder Dog tomorrow.
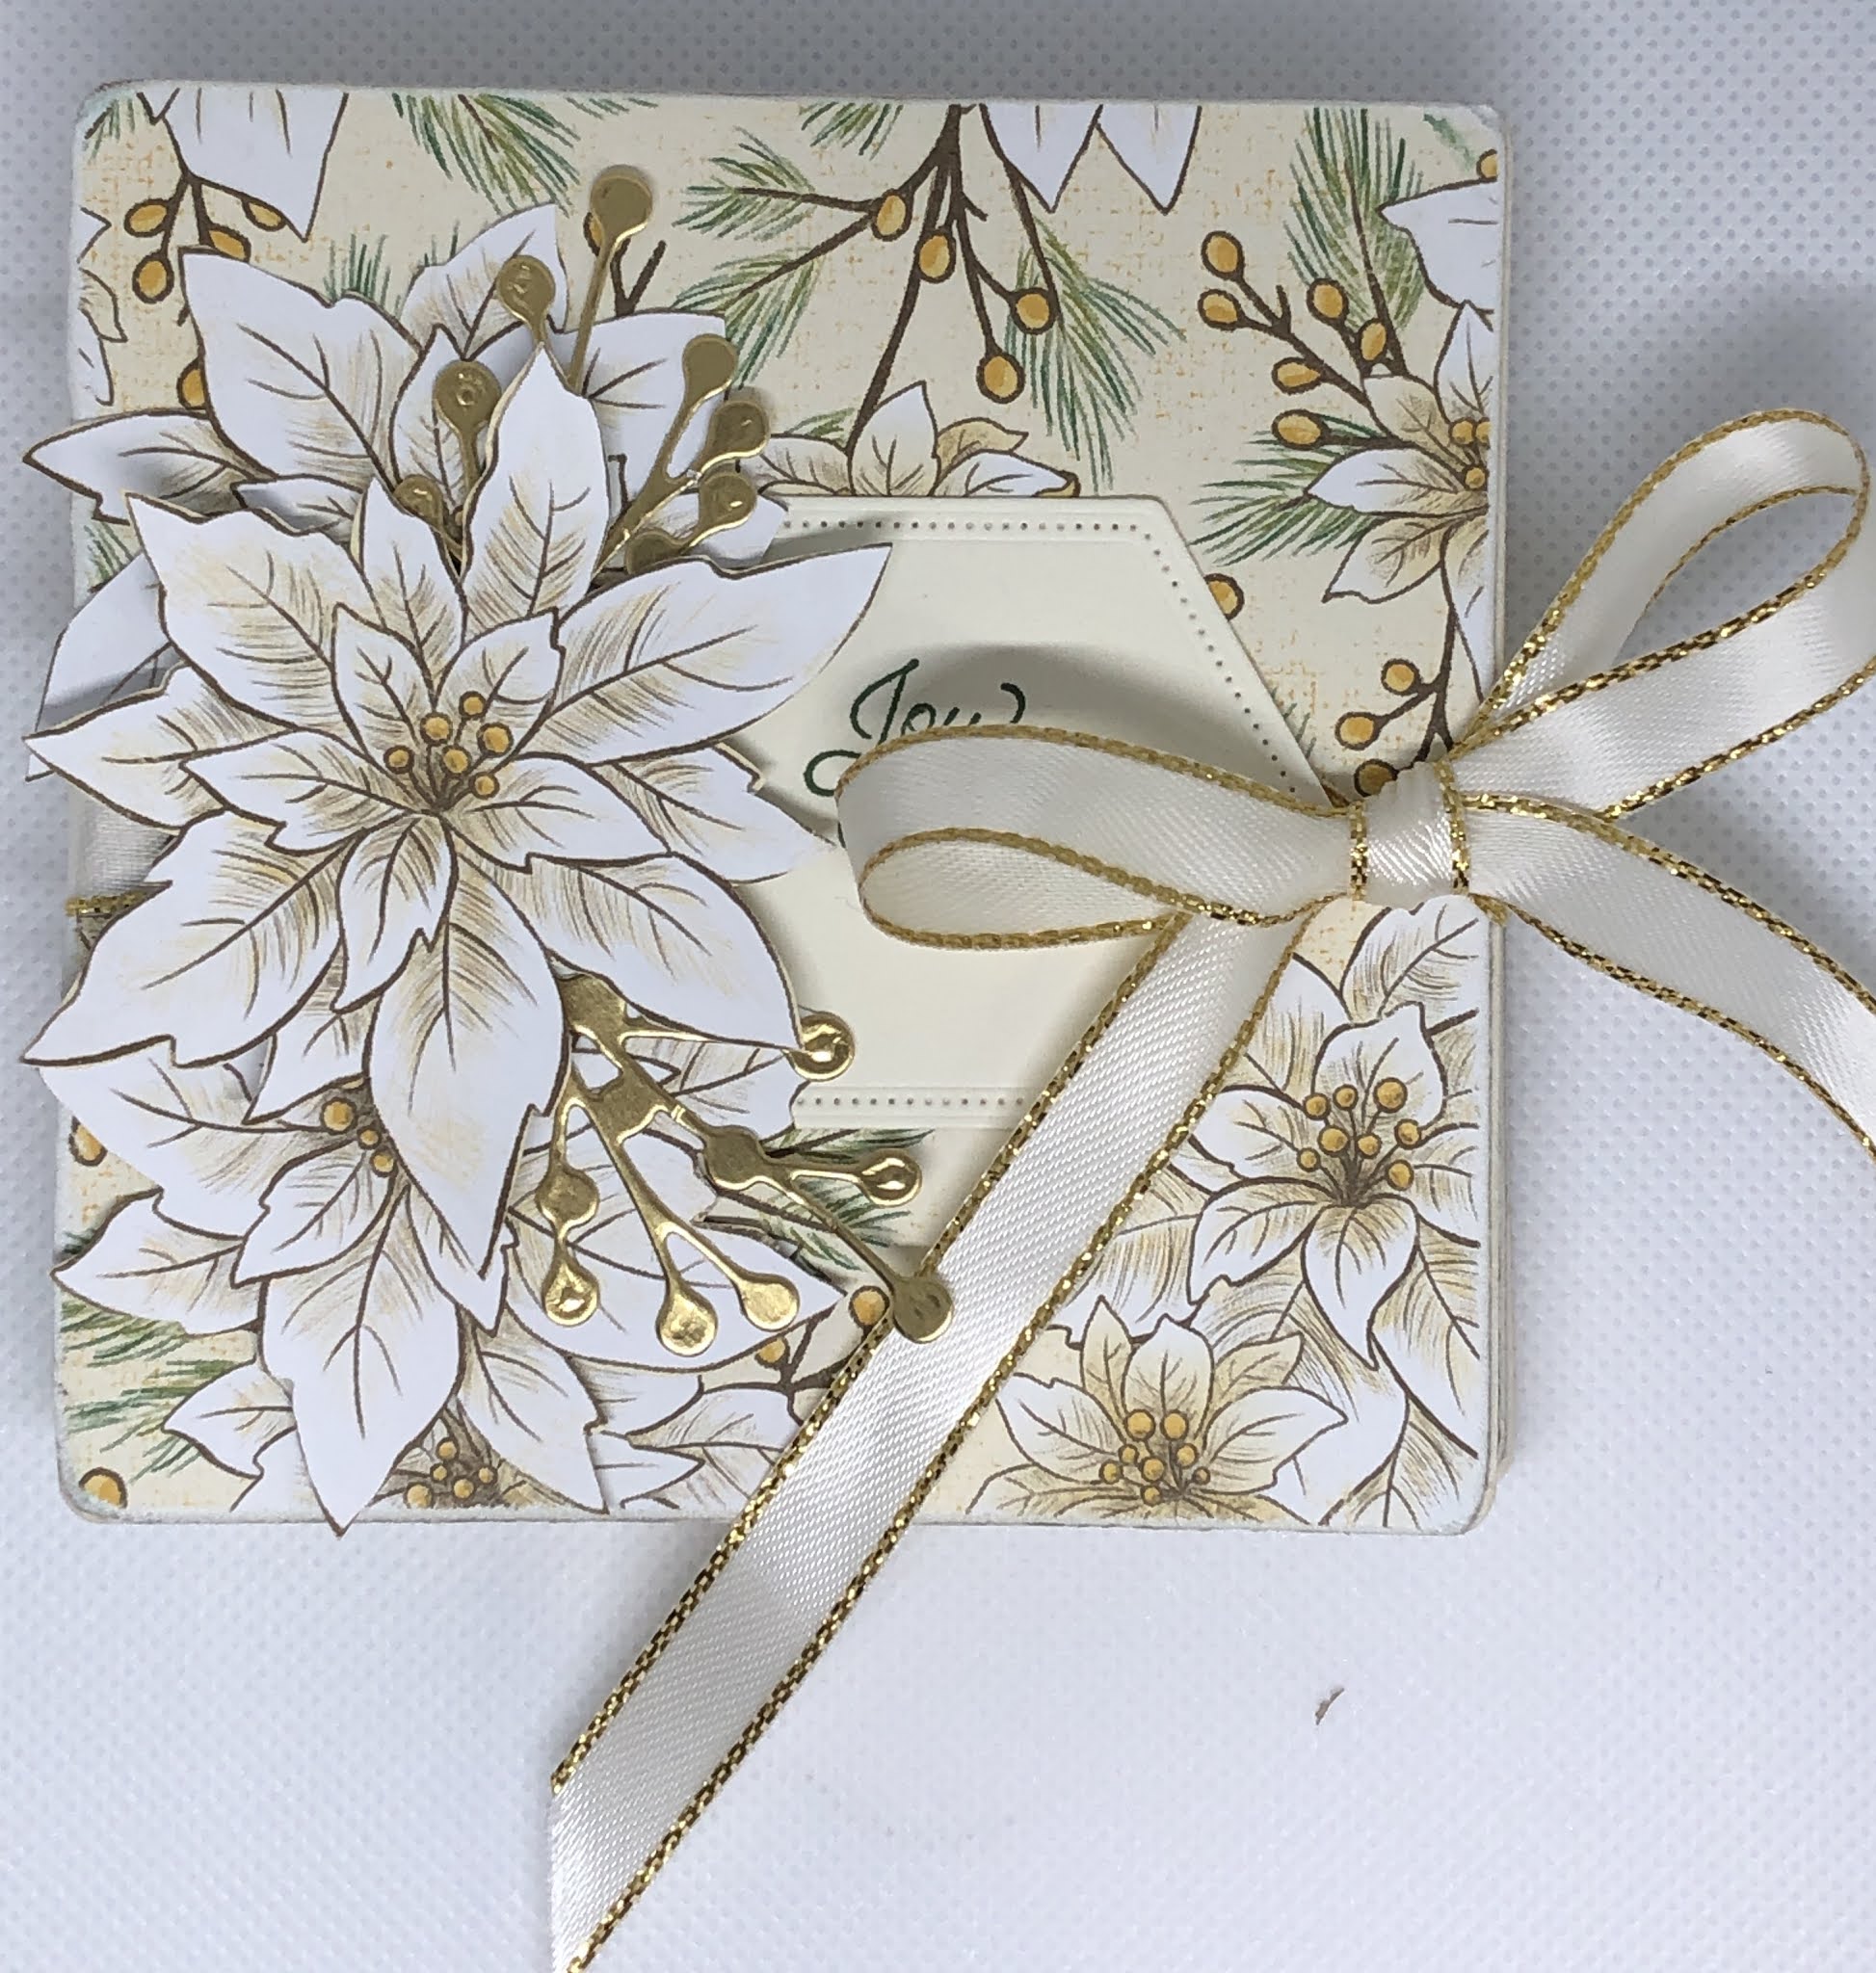
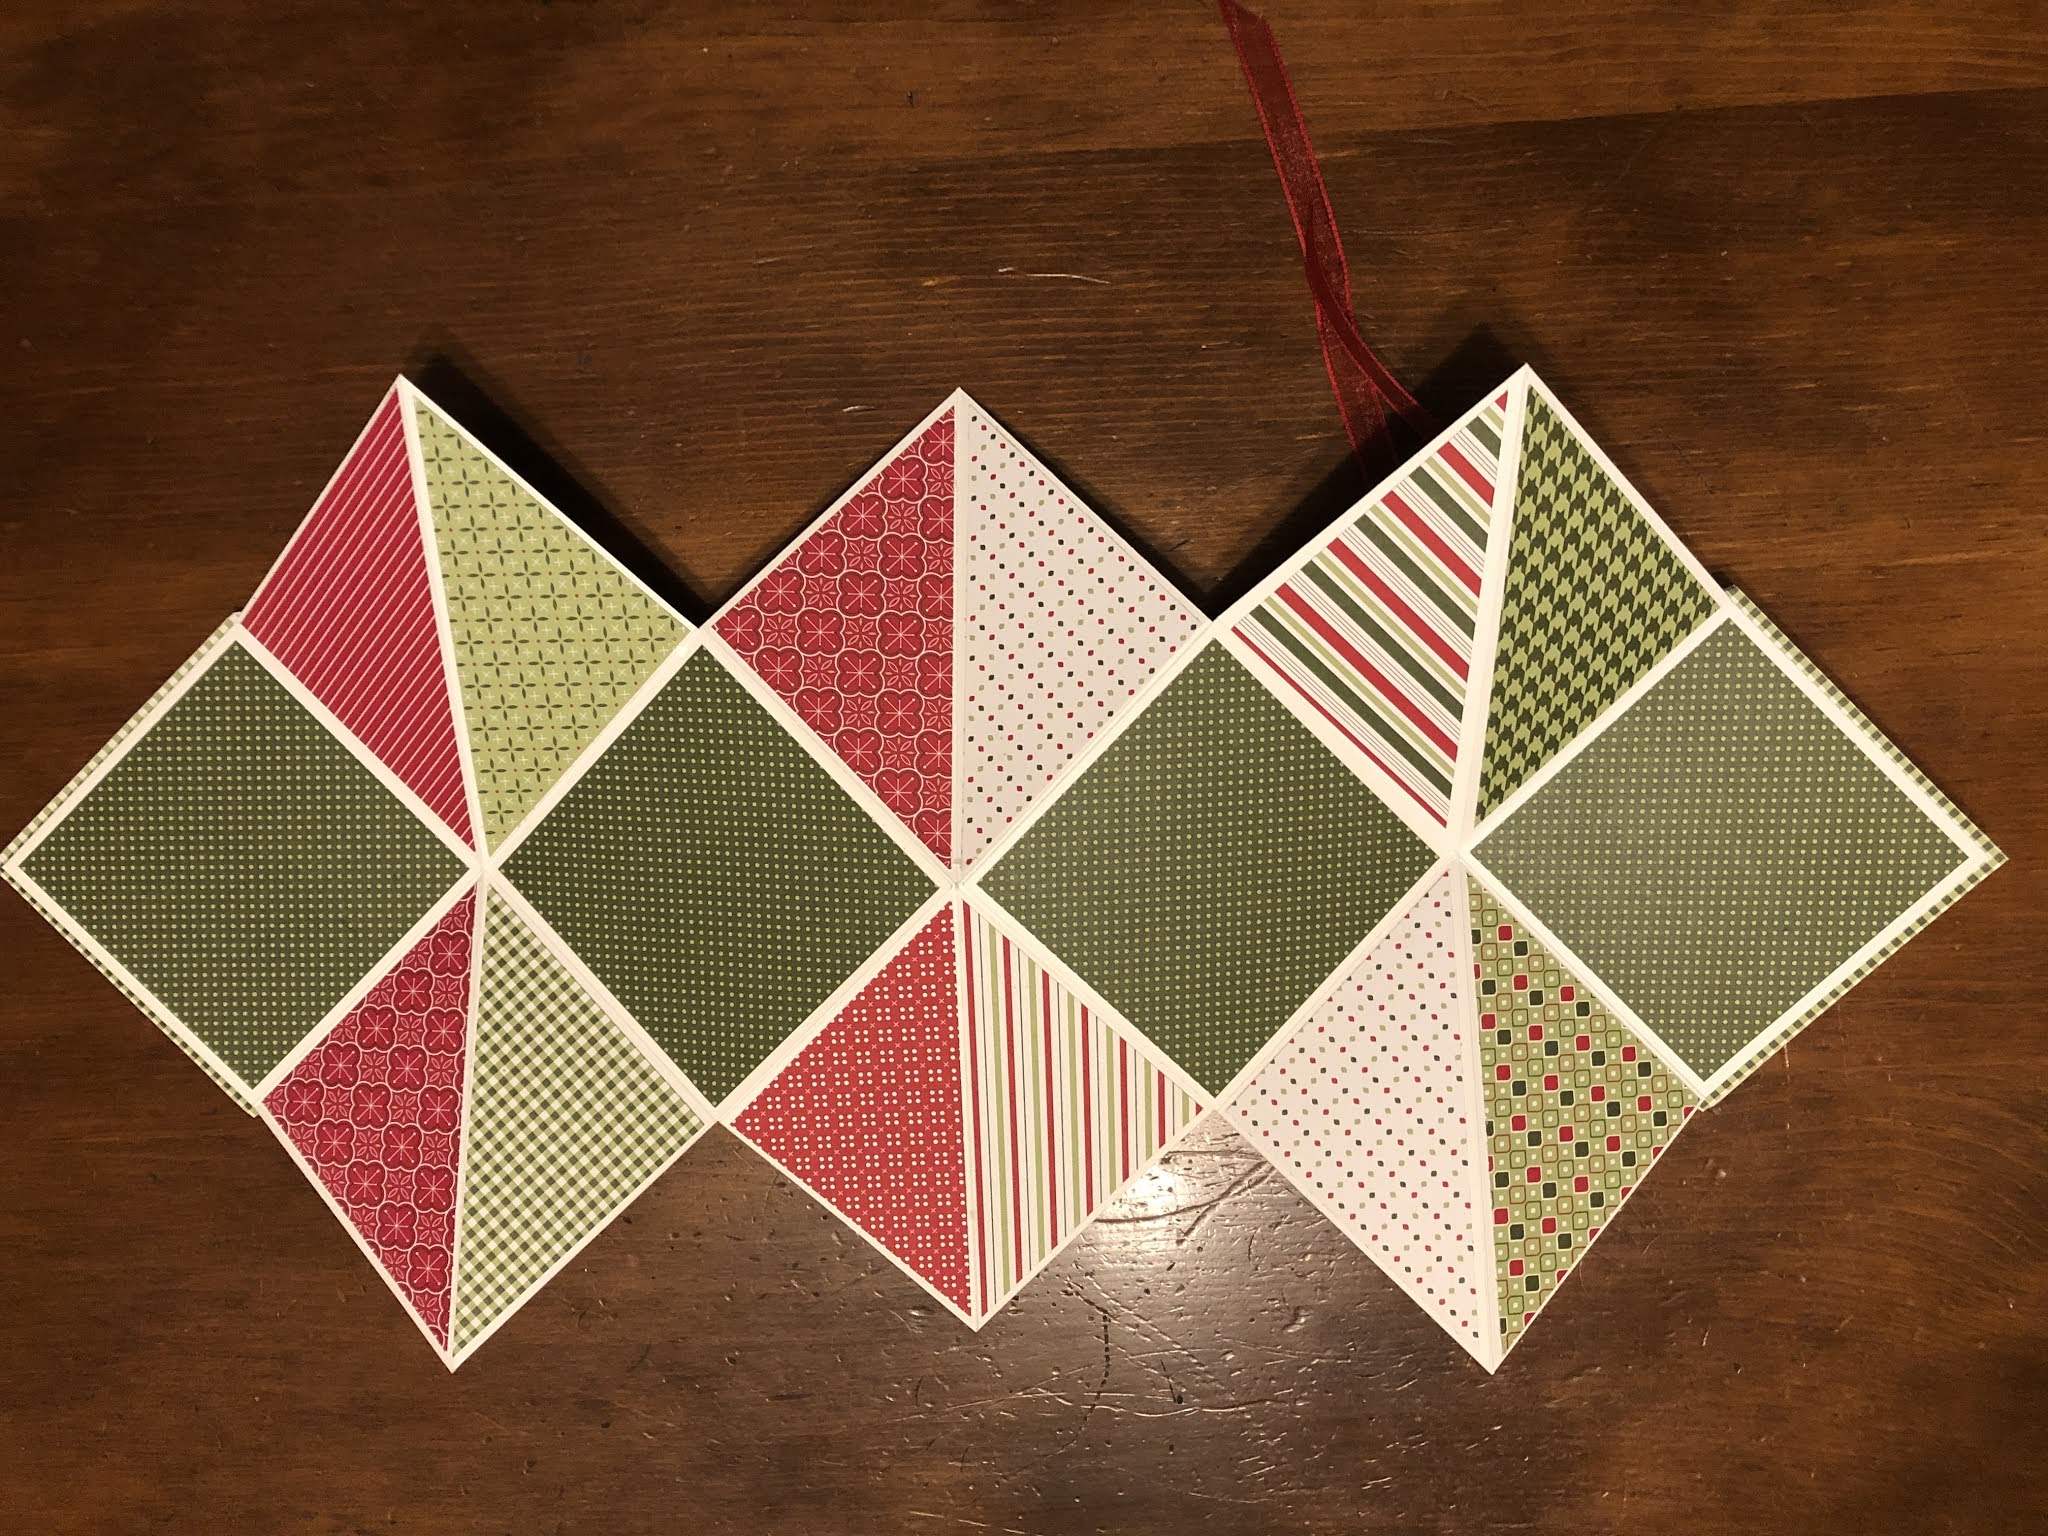
Again, here are 2 of the samples of the Squash Books that I'm working on, but the possibilities are endless. Just need to pick the Designer Series Paper.


And here is the Children's Version


And Mostly, don't forget the great sale coming Tomorrow Morning.....
15% off the stamp sets listed below

Product List
 | ||

")

")


")

")

")

")

")


")

")

")

")
")
")

")
")
")
")


")
")
")
")


")
")
")
")
")
")
")

")
")


")
")


")
")


")
")

")
")

")
")
")
")
")
")
")

")
")
")
")

")
")


")
")

No comments:
Post a Comment